How to Install Enterprise Certificate Authority on a Windows 2008 Server
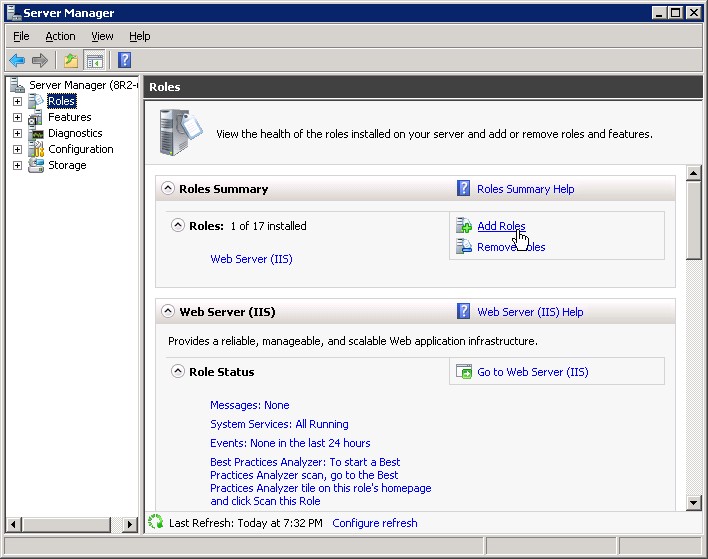
1. Open Server Manager.2. Select Roles, then click Add Roles in the center pane.

3. The Before You Begin page may show up if you haven’t turned it off already. If you see it just click Next.
4. In the Select Server Roles window go ahead and select Active Directory Certificate Services by placing a checkmark next to it, then go ahead and click Next.

5. Now you will see an Introduction to Active Directory Certificate Services, where you can read about the good things you can do with AD CS.
The biggest thing to note here is the following:
Name & Domain settings of this computer cannot be changed after a CA has been installed. If you want to change the computer name, join a domain, or promote this server to a domain controller do so BEFORE install thing the CA.
Now with that warning out of the way, go ahead and click on Next.

6. Next you get to Select Role Services, which can include any of the following depending on what version of Windows Server 2008 you are installing this on — refer to the table above for specifics.
For this install I am going to choose the Certification Authority only.

7. Now comes the Specify Setup Type, and for this I am going to select the Enterprise radio button.

8. For the Specify CA Type, I am going to choose the Root CA radio button and then click Next.

9. In Set Up Private Key, I am going to choose Create a new private key radio button and then select Next.

10. Now you have to Configure Cryptography for CA in this window and there are quite a few to choose from.
Now I am no expert on cryptography, but some basic rules do apply … the longer the key the harder it is to crack. For our purposes I am going to use the following settings:
RSA#Microsoft Software Key Storage Provider
4096 Key Character length
md5 Hash algorithm
Now I am going to click Next.

11. In Configure CA Name you can choose to overwrite the default common name for this CA and also the Distinguished name suffix if you so choose.
I am going to overwrite the default common name with Test-Enterprise-CA, but I will leave the rest alone.

12. Next we will Set Validity Period for this CAs certificate.
Remember a root CA issues itself a certificate. The default is 5 Years so I will just leave it at that. You can change this based on any need you might have in your environment. Click Next.

13. Configure Certificate Database will let you specify where you want to put the database and log files for the CA.
I am going to leave the default in place. Click Next.

14. On the Confirm Installation Selections you can see the answers you have chosen and you will again see a warning that you cannot change the computer name or domain settings for this server after installing the CA.
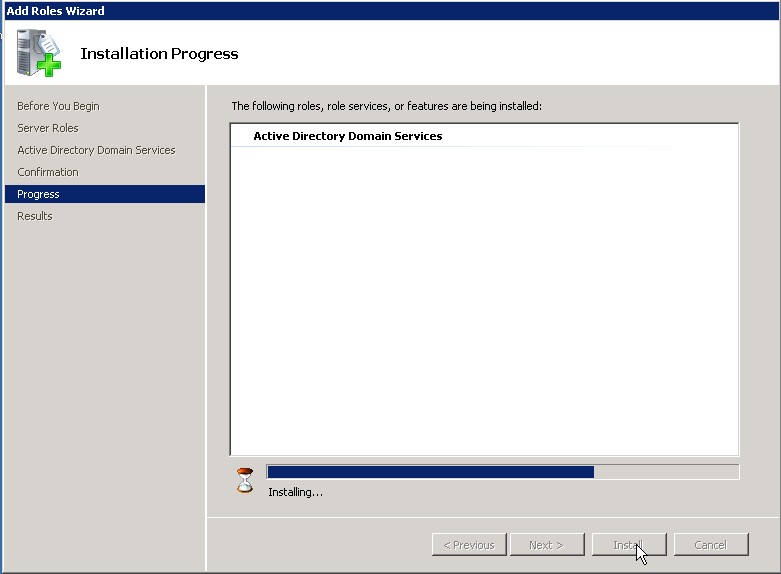
Go ahead and click Install… you know you want to!

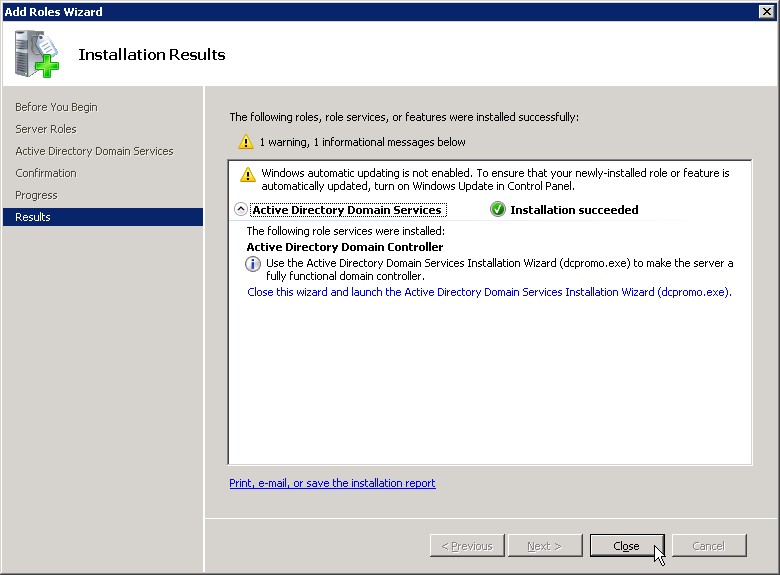
15. After a few minutes you will see the Installation Results, and with any luck you will have the message: Installation succeeded.
After your glow of certificate happiness fades go ahead and click Close.

16. Now let’s go in and take a look by clicking on Certification Authority in Administrative Tools (if you get a UAC pop up just click Ok).

17. Now you can see the snap-in is showing the CA named Test-Enterprise-CA in the left pane with a bunch of folders for certificates.

18. You can also see that if you click the Certificate Templates folder, there are quite a few default templates that are already setup and ready to go.